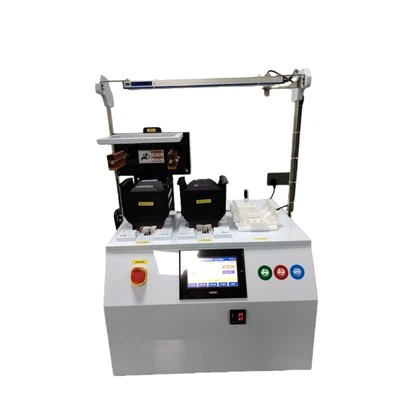
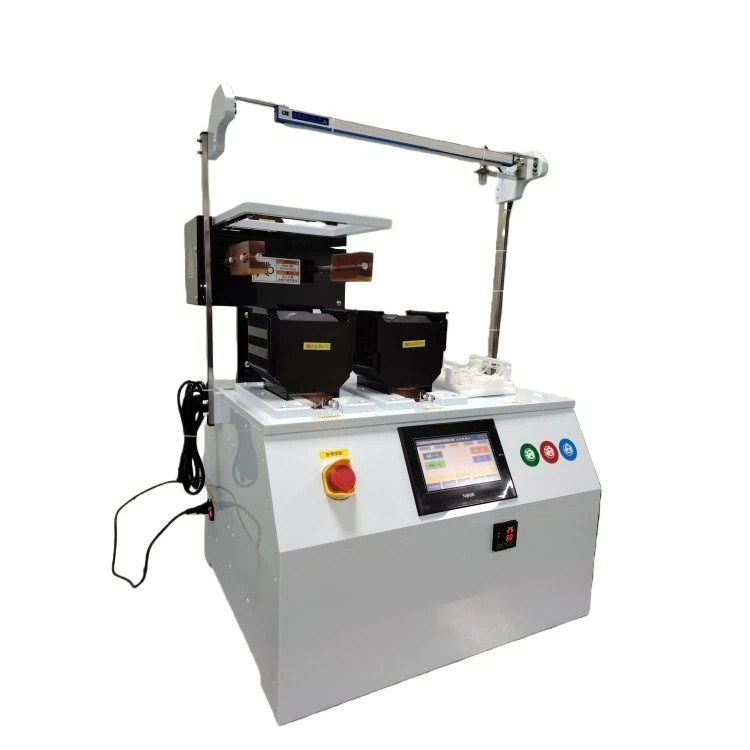
Calibrating a Wafer Guide Machine is a crucial process that ensures the precision and reliability of semiconductor manufacturing operations. As a leading supplier of Wafer Guide Machine, we understand the significance of proper calibration in maintaining the efficiency and quality of wafer handling. In this blog post, I will share a comprehensive guide on how to calibrate a Wafer Guide Machine, covering the key steps, tools required, and best practices.
Understanding the Importance of Calibration
Before delving into the calibration process, it's essential to understand why calibration is so important. In semiconductor manufacturing, wafers are extremely delicate and expensive, and even the slightest misalignment can lead to significant production losses. A well - calibrated Wafer Guide Machine ensures that wafers are transported accurately through the manufacturing process, reducing the risk of damage and improving the overall yield.
Proper calibration also helps in maintaining the long - term reliability of the machine. Regular calibration detects and corrects any minor deviations that could otherwise lead to more significant problems down the line, such as mechanical wear and tear or electrical issues.
Preparation for Calibration
Gather the Necessary Tools
The first step in calibrating a Wafer Guide Machine is to gather the essential tools. These typically include:
- A precision measuring device, such as a laser alignment tool or a micrometer, to measure distances and angles accurately.
- Cleaning supplies, including lint - free wipes and specialized cleaning agents, to remove any dust or debris that could affect the calibration.
- A set of calibration fixtures provided by the machine manufacturer. These fixtures are designed to ensure that the calibration is done according to the specific requirements of the machine.
Review the Machine Manual
Thoroughly review the operation and calibration manual provided with the Wafer Guide Machine. The manual contains detailed instructions, specifications, and diagrams that are crucial for accurate calibration. Pay special attention to the manufacturer's recommended calibration intervals and procedures.
Ensure a Safe Working Environment
Before starting the calibration process, make sure the working area is clean, well - lit, and free from any potential hazards. Power off the machine and follow all safety protocols to prevent accidents.
Step - by - Step Calibration Process
Step 1: Machine Cleaning
Start by cleaning the Wafer Guide Machine thoroughly. Use the lint - free wipes and cleaning agents to remove any dust, dirt, or residues from the guide rails, rollers, and other moving parts. Ensure that no debris is left behind, as even a small particle can cause misalignment.
Step 2: Initial Machine Inspection
Conduct a visual inspection of the machine to check for any signs of damage or wear. Inspect the guide rails for scratches, dents, or uneven surfaces. Check the rollers for proper rotation and look for any loose or damaged components. If any issues are found, address them before proceeding with the calibration.
Step 3: Zero Point Calibration
The zero point calibration is the foundation of the calibration process. It sets the baseline for all subsequent measurements and adjustments. Use the precision measuring device to locate the zero point of the machine as specified in the manual. This may involve aligning a reference marker on the machine with a fixed point in the working area.

Step 4: Guide Rail Alignment
Proper alignment of the guide rails is crucial for the smooth movement of wafers through the machine. Use the laser alignment tool to check the straightness and parallelism of the guide rails. Adjust the rails as necessary to ensure that they are within the manufacturer's specified tolerances. This may involve loosening and tightening adjustment screws or using shims to correct any misalignment.
Step 5: Roller Calibration
The rollers are another critical component of the Wafer Guide Machine. Check the roller alignment and rotation to ensure that they are moving smoothly and evenly. Use a micrometer to measure the diameter of the rollers and make sure they are within the specified range. Adjust the roller tension if necessary to ensure proper grip on the wafers.
Step 6: Sensor Calibration
Most Wafer Guide Machines are equipped with sensors that detect the position and movement of the wafers. Calibrate these sensors according to the manufacturer's instructions. This may involve adjusting the sensor sensitivity, alignment, or signal thresholds. Use a test wafer to verify the sensor accuracy and make any necessary adjustments.
Step 7: Software Calibration
In addition to the physical calibration, many modern Wafer Guide Machines have software - based calibration features. Access the machine's control software and follow the calibration wizard or menu options to calibrate the machine's software parameters. This may include adjusting the speed, acceleration, and deceleration settings, as well as the position control algorithms.
Step 8: Final Verification
After completing all the calibration steps, perform a final verification using a test wafer. Run the wafer through the machine and monitor its movement. Check for any signs of misalignment, vibration, or other issues. Measure the position and orientation of the wafer at various points in the machine to ensure that it is within the acceptable tolerances. If any problems are detected, repeat the appropriate calibration steps until the machine is operating correctly.
Best Practices for Calibration
- Regular Calibration Schedule: Establish a regular calibration schedule based on the machine's usage and the manufacturer's recommendations. Regular calibration helps in maintaining the machine's accuracy and reliability over time.
- Trained Personnel: Ensure that the calibration is performed by trained and qualified personnel. Calibration requires a good understanding of the machine's operation and the calibration procedures.
- Documentation: Keep detailed records of all calibration activities, including the date, time, technician's name, calibration results, and any adjustments made. This documentation can be used for quality control purposes and to demonstrate compliance with industry standards.
- Follow Manufacturer's Guidelines: Always follow the manufacturer's guidelines and recommendations for calibration. Using unauthorized calibration methods or tools can void the machine's warranty and may lead to inaccurate results.
Conclusion
Calibrating a Wafer Guide Machine is a complex but essential process that ensures the precision and reliability of semiconductor manufacturing operations. By following the steps outlined in this guide, using the right tools, and adhering to best practices, you can ensure that your Wafer Guide Machine is calibrated correctly and operating at its optimal performance.
As a satisfied supplier of Wafer Guide Machine, we are committed to providing our customers with high - quality machines and comprehensive support. If you have any questions about the calibration process or need assistance with your Wafer Guide Machine, please feel free to contact us. We would be more than happy to discuss your specific needs and requirements and provide you with the best solutions. Let's work together to achieve greater efficiency and quality in your semiconductor manufacturing processes.
References
- Manufacturer's operation and calibration manual for the Wafer Guide Machine.
- Industry standards and best practices for semiconductor manufacturing equipment calibration.